Publishing a book on Amazon Kindle Direct Publishing (KDP) can feel overwhelming if you’ve never done it before. There are plenty of guides on how to write a book, but far fewer that clearly explain what to do after the writing is finished.
This guide focuses on exactly that stage.
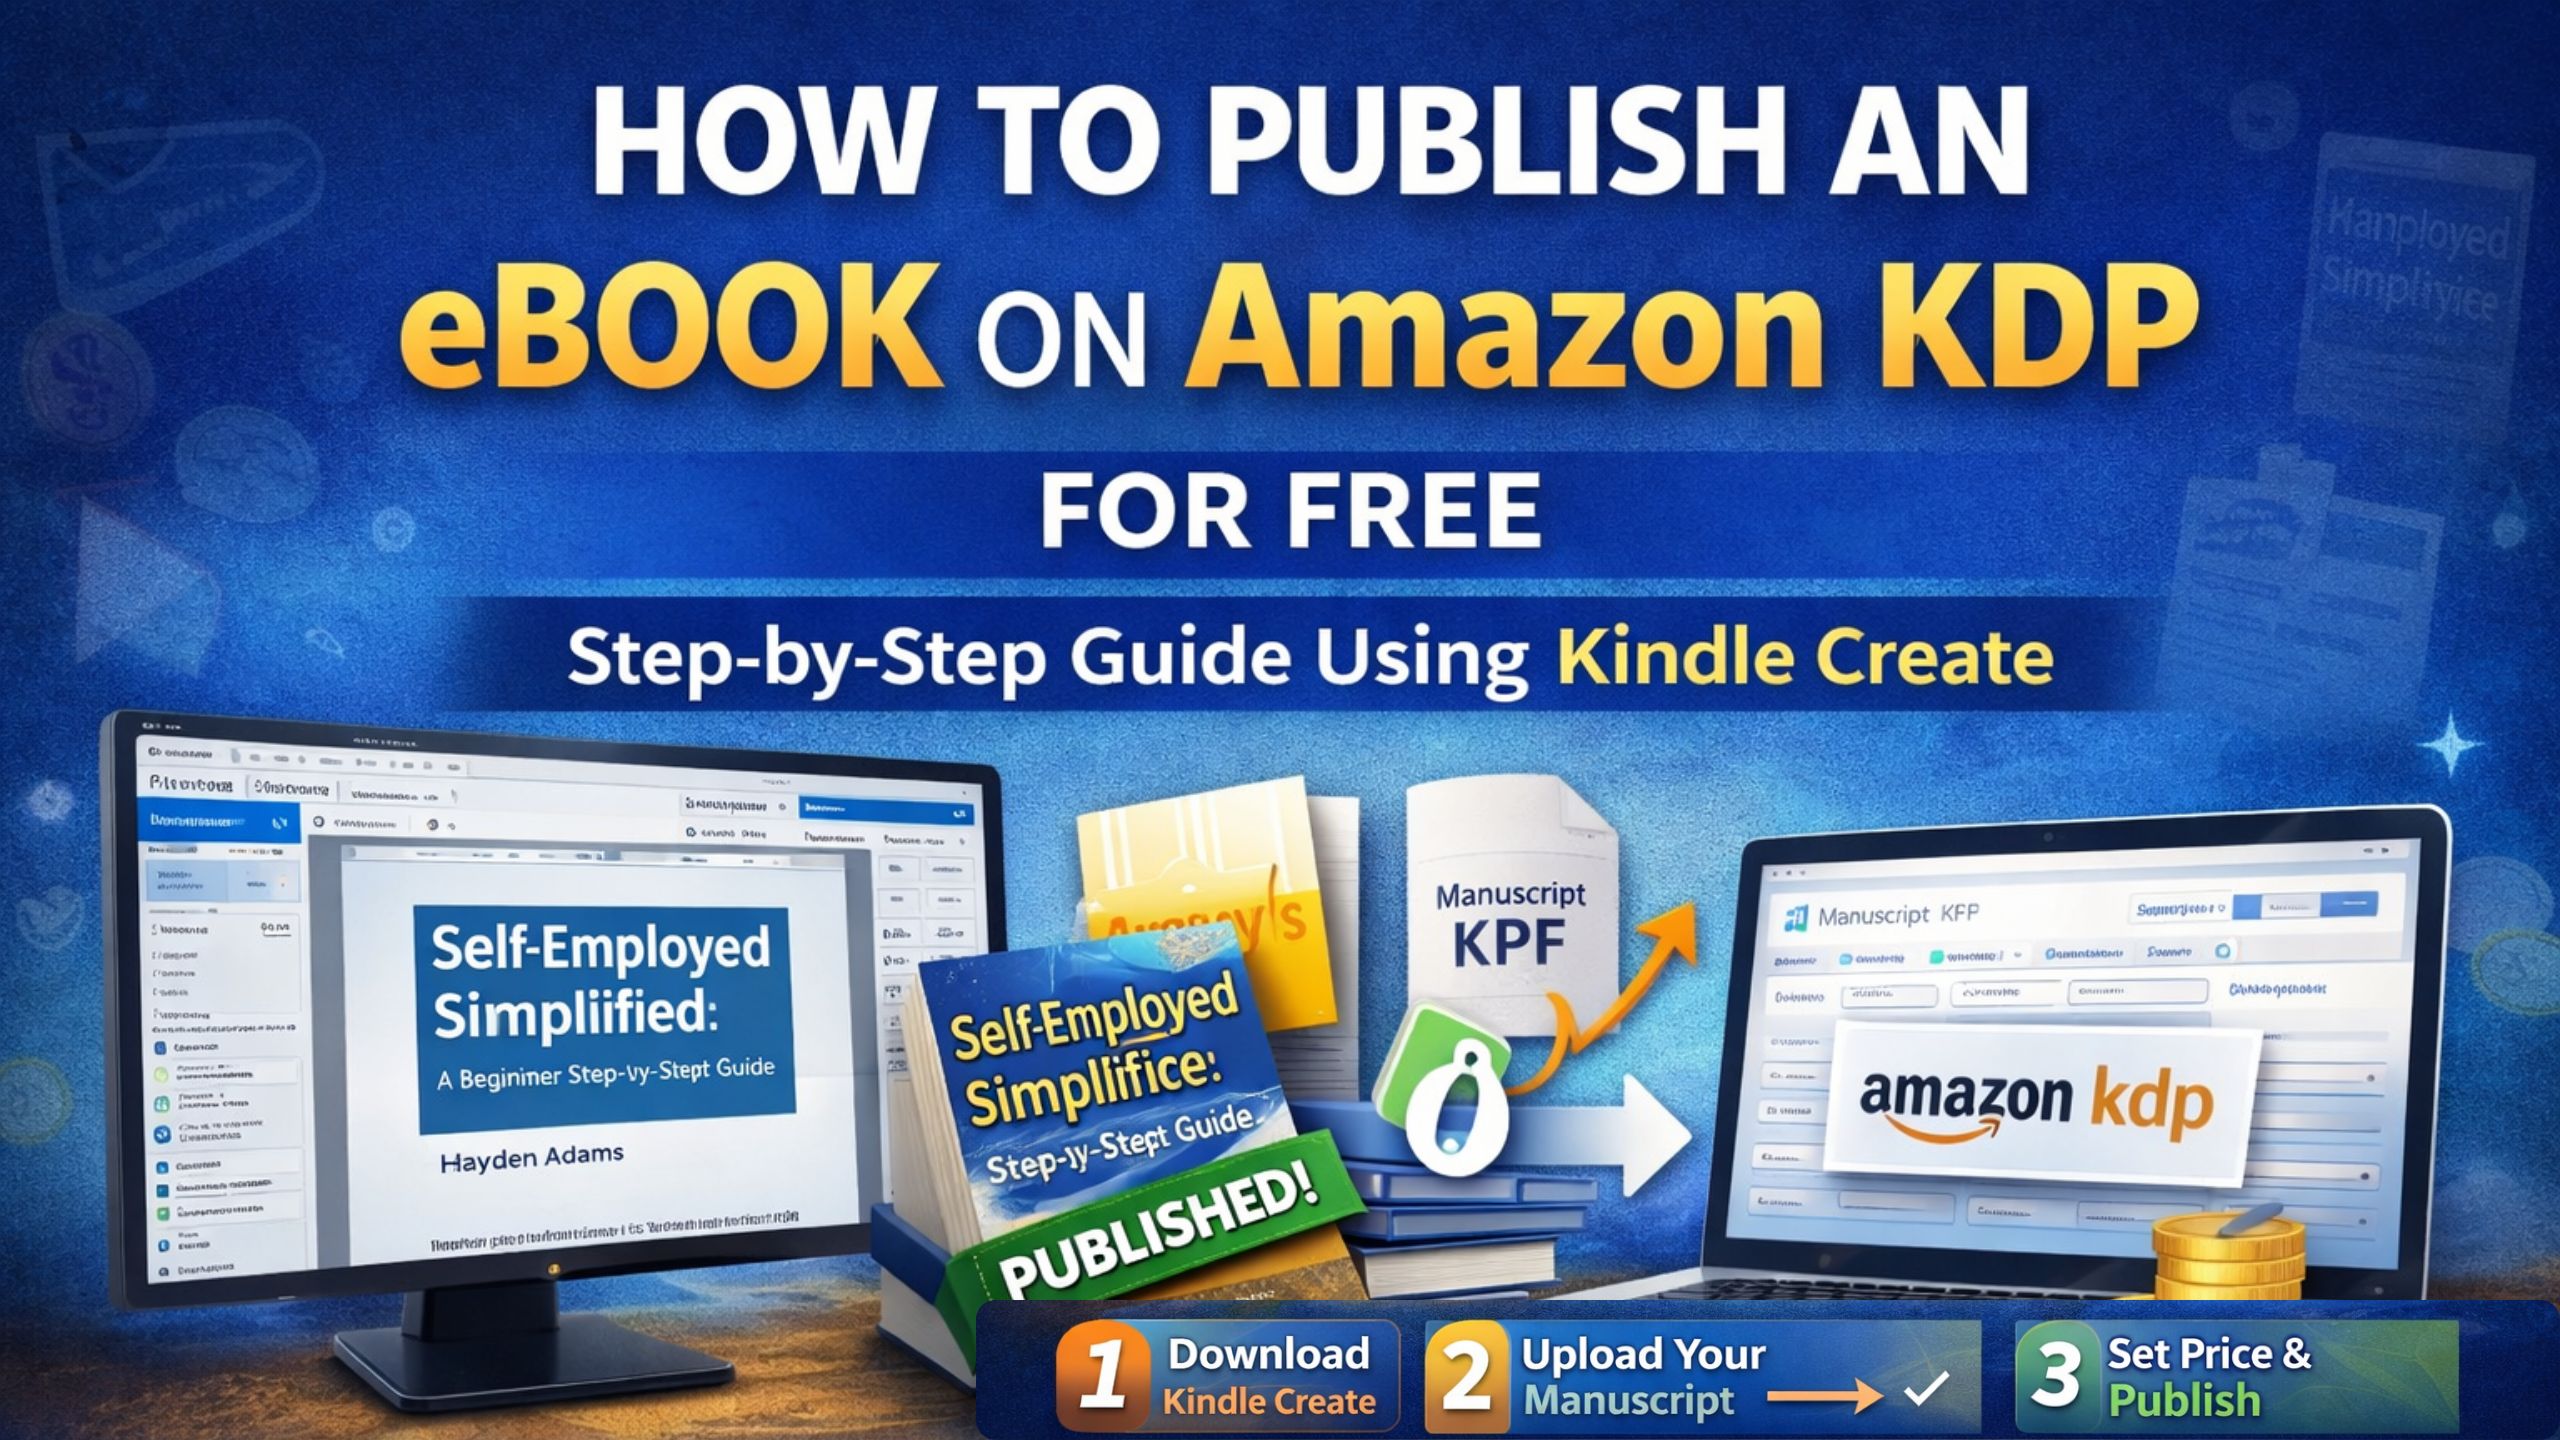
If your manuscript is already written, edited, and ready to go, this article will walk you through how to assemble, upload, and publish your eBook on Amazon KDP for free, using Amazon’s own official tool called Kindle Create.
This is a practical, real-world walkthrough, based on an actual book that was successfully published.
What This Guide Assumes Before You Start
Before jumping into the publishing process, a few things should already be done.
Your book should be:
- Fully written
- Edited and proofread
- Ready in text form (Word, Google Docs, or similar)
- Intended as an eBook (paperback can be added later)
This guide does not cover how to write a book. It covers how to turn your finished manuscript into a live Amazon eBook.
Step 1: Download Kindle Create
Amazon provides a free tool called Kindle Create, which is designed specifically for formatting and publishing eBooks.
You can find it by searching:
or directly from Amazon’s website.
Kindle Create is available for:
- Windows
- macOS
The software is free, and you do not need any third-party tools to publish an eBook on KDP.
Step 2: Open Kindle Create and Start a New Project
Once Kindle Create is installed, open the application.
If you are new:
- Select Create New
- Choose your manuscript file
- Kindle Create will import your text automatically
This guide assumes a text-based eBook, meaning:
- No heavy graphics
- No recipe layouts
- Mostly paragraphs and headings
Kindle Create works best for clean, text-focused books.
Understanding Front Matter in Kindle Create
Front matter includes everything before the main content of your book. These pages do not count toward the book’s reading progress.
Common front matter sections include:
- Title page
- Copyright page
- Introduction
- Disclaimer
- Table of contents
In Kindle Create, these sections are easy to add and edit individually.
Creating the Title Page
The title page contains:
- Book title
- Author name
- Publisher name (optional)
Kindle Create allows you to edit this page using the Edit Page option.
Some authors choose to:
- Add their book cover as a publisher logo
- Use a simple text-only layout
Both approaches are acceptable.
Adding a Copyright Page (Strongly Recommended)
A copyright page helps protect your work and makes your book look professional.
A typical copyright page includes:
- Copyright year
- Author name
- Rights statement
- Cover design credit (if applicable)
Although not required by Amazon, it is highly recommended that authors register their book with the copyright office in their country before or after publishing.
Creating the Table of Contents Automatically
One of the best features of Kindle Create is that the table of contents updates automatically based on your chapters.
When you:
- Add chapters
- Add introductions
- Add new sections
Kindle Create keeps everything synchronized, saving a lot of manual work.
Choosing a Design Theme (Keep It Simple)
Kindle Create offers several themes, such as:
- Modern
- Classic
- Cosmos
- Amiri
For eBooks, design is not critical, because Kindle readers can change:
- Font
- Size
- Line spacing
- Theme
The safest approach is to:
- Choose one clean theme
- Avoid over-customizing
- Focus on readability
Formatting Chapters and Subheadings
Kindle Create allows you to format:
- Chapter titles
- First paragraph drop caps
- Subheadings
- Block quotes
A consistent structure is important. Readers subconsciously expect:
- Clear chapter starts
- Consistent layout
- Clean spacing
Over-designing rarely improves the reading experience for eBooks.
Back Matter: Optional but Useful
Back matter appears after the main content.
Examples include:
- About the author
- Books by the same author
- Acknowledgements
Some authors include this. Others integrate personal information into the introduction instead. Both approaches are fine.
Exporting the Book File (KPF Format)
Once formatting is complete:
- Save your project
- Click Export
- Kindle Create generates a KPF file
This is the official file format Amazon accepts for Kindle eBooks.
Step 3: Uploading the eBook to Amazon KDP
Go to:
kdp.amazon.com
Log in to your Amazon account and select:
- Create
- Kindle eBook
This begins the three-step KDP publishing process.
Step 1 in KDP: Book Details (Metadata)
Here you’ll enter:
- Language
- Book title
- Series information (if applicable)
- Edition number
- Author name
- Contributors (if any)
You’ll also add the book description, which explains:
- What the book is about
- Who it’s for
- What problem does it solve
This is written manually and should be clear and honest.
Copyright and Marketplace Selection
Amazon will ask:
- If you own the publishing rights (select “Yes”)
- Whether the book is public domain (usually “No”)
- Primary marketplace (Amazon.com, Amazon.co.uk, etc.)
Even if you select one primary marketplace, the book will still be available globally unless restricted.
Categories and Keywords
You’ll be asked to:
- Choose categories (business, self-help, etc.)
- Enter keywords related to your book topics
These keywords help Amazon understand:
- What your book is about
- When to show it in search results
Even though keywords are optional, they are highly recommended.
Step 2 in KDP: Uploading Manuscript and Cover
This is where you upload:
- The KPF file was exported from Kindle Create
- Your eBook cover (JPEG or TIFF)
Amazon also asks whether AI-generated content was used. You should answer honestly.
Previewing and Quality Check
KDP provides a built-in previewer that:
- Checks formatting
- Flags spelling issues
- Identifies broken links
Some warnings may relate to URLs or technical terms. Not all warnings require changes.
This quality check helps catch problems before publication.
ISBN for eBooks (Not Required)
Unlike paperbacks, eBooks do not require an ISBN. You can safely skip this step.
Step 3 in KDP: Pricing and Royalties
You’ll choose:
- Territories (all or selected)
- Royalty rate (35% or 70%)
- Book price
Here’s a simple comparison:
| Royalty Option | Price Range | Delivery Fee |
|---|---|---|
| 70% | $2.99 – $9.99 | Yes |
| 35% | Any price | No |
For most authors, a 70% royalty is the best option if the file size is small.
Understanding Delivery Costs
Amazon charges delivery fees based on file size.
Example:
- $0.15 per MB
- Small text-only books usually cost just a few cents
Large image-heavy books cost more per sale.
Publishing the Book
Once everything is set:
- Click Publish
- Amazon reviews the book (usually 24–48 hours)
Search visibility may take longer, but the book will be live.
Sharing Your Published Book
After publication, you can:
- View the book on Amazon
- Copy the product link
- Share it with friends, family, or your audience
Over time, the book will begin appearing in Amazon search results.
Tracking Sales and Reads
Inside KDP’s Reports section, you can see:
- Sales
- Royalties
- Kindle Unlimited page reads
- Reader activity
This gives valuable insight into how people interact with your book.
Related Blogs
How to Add Authors & Contributors in Amazon KDP Correctly (Complete Beginner Guide)
March 20, 2026
When publishing a book on Amazon KDP, one of the most important steps is adding the correct author and contributor
How to Write Amazon KDP Book Titles, Subtitles and Editions Correctly?
March 20, 2026
When publishing a book on Amazon KDP, your title, subtitle, and edition details play a crucial role in how your
Final Thoughts
Publishing an eBook on Amazon KDP is free, straightforward, and accessible to anyone who has finished writing a manuscript.
The key is:
- Use Kindle Create
- Follow Amazon’s steps carefully
- Keep formatting clean
- Publish first, improve later
Once published, you can always:
- Update the content
- Add a paperback later
- Improve descriptions and keywords
Publishing is not the end — it’s the beginning.